Guides
How to use TireloHub
Step-by-step guides for owners, customers and seat renters · web & mobile
Getting started
Create your workspace and get your business online in a few minutes.
Start your free trial Web
Create your workspace in under a minute — no card required. You get 30 days of full access.
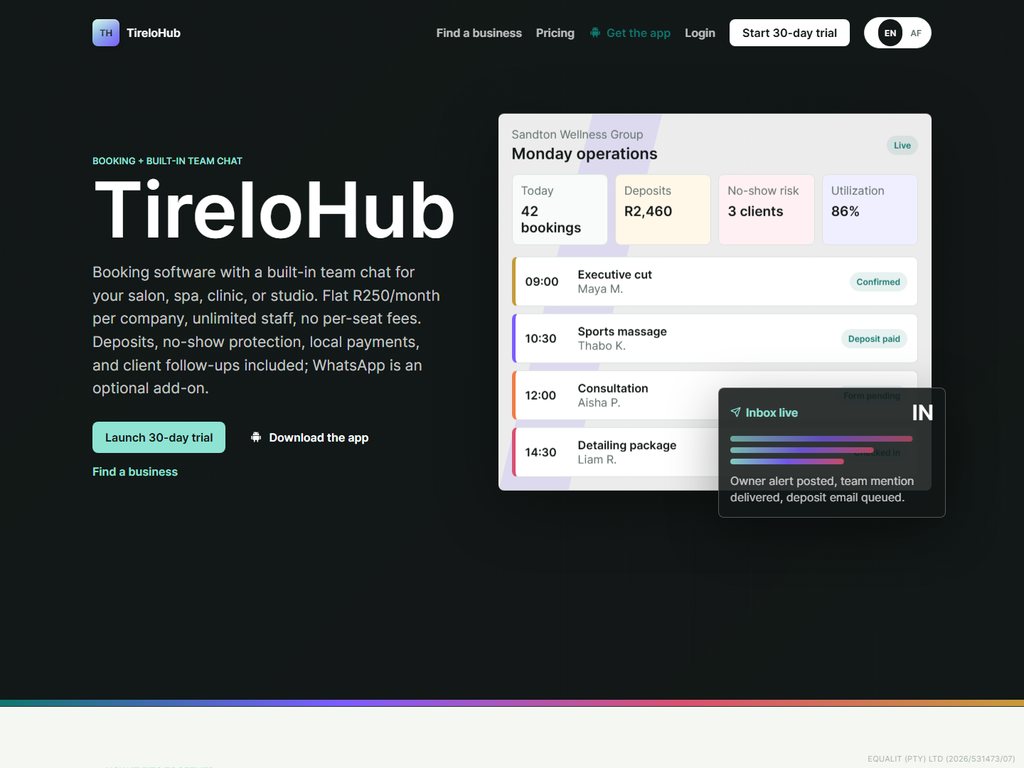
- On the homepage, tap “Start 30-day trial”.
- Enter your business name, your name, email and a password.
- Choose your business type — start typing and pick a suggestion, or type your own (e.g. “Vehicle hire”, “Event equipment hire”, “Printing”). This is exactly how customers find you in the directory’s type filter, so use the words they’d search for.
- You’re taken to the sign-in screen — log in with the email and password you just set.
- If email verification is on, enter the 6-digit PIN we send you, then accept the Terms & Conditions pop-up to enter your dashboard.
Create a business account on the app Mobile
You can start a business straight from the phone app — no need to go to the website first.
- Open the app and tap “Business owner — log in”.
- Tap “New here? Create a business account”.
- Fill in your business name, your name, email, an optional contact number and a password.
- Pick your business type — tap a suggestion chip or type your own custom type.
- Tick “I accept the Terms & Conditions”, then tap “Create business account”. Confirm the email PIN if verification is on.
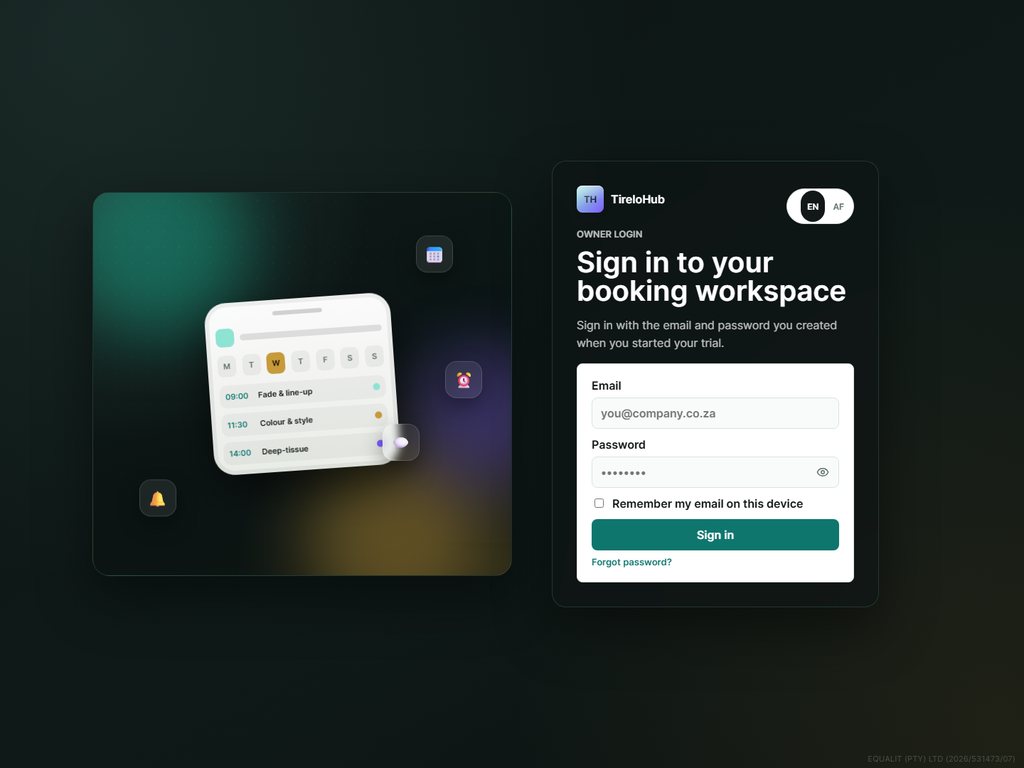
Sign in (owner, customer or renter) Both
One login screen routes you to the right place automatically.
- Business owners land on the owner dashboard; customers land on “My account”; seat renters land on their own seat dashboard.
- Forgot your password? Use the “Forgot password” link to get a reset PIN by email.
- On the mobile app, choose “Business owner — log in” (owners and renters) or “Customer Login”.
For business owners
Everything in the owner dashboard. Every tab below also works natively in the mobile app under “Manage”.
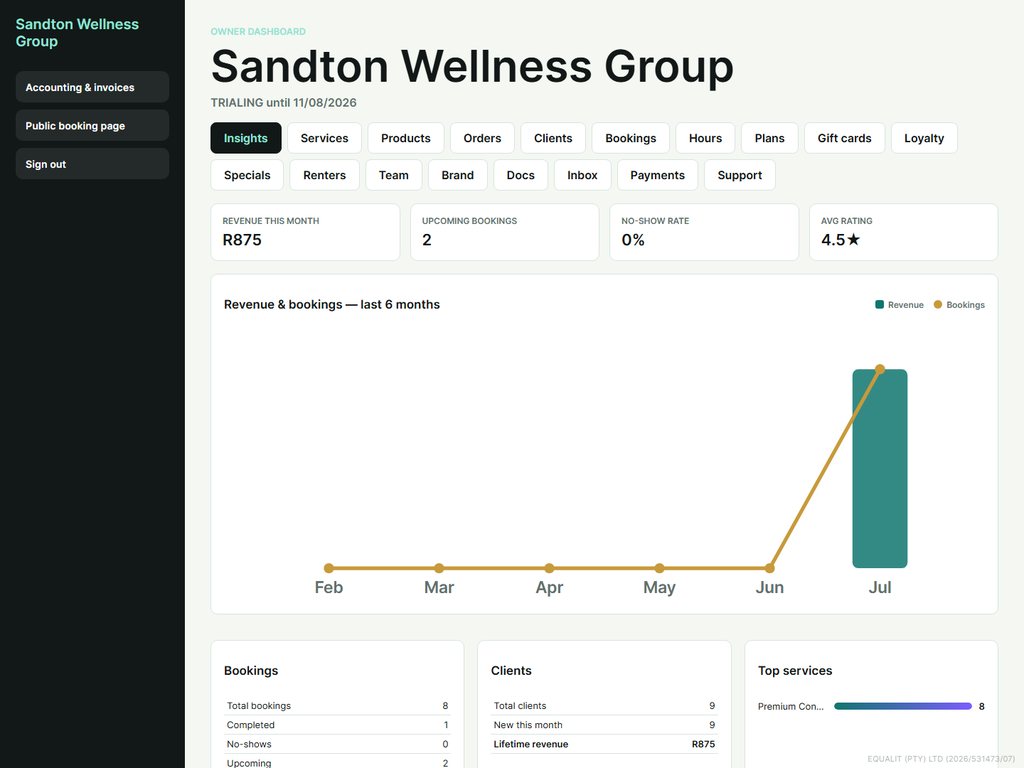
Dashboard & insights Both
See how your business is doing at a glance.
- The “Insights” tab shows revenue collected this month, upcoming bookings, no-show rate and your average rating.
- The 6-month chart plots revenue (bars) against booking volume (line).
- Below that you’ll find your top services, new clients and a “Win them back” card for lapsed clients.
Services & pricing (and extras) Both
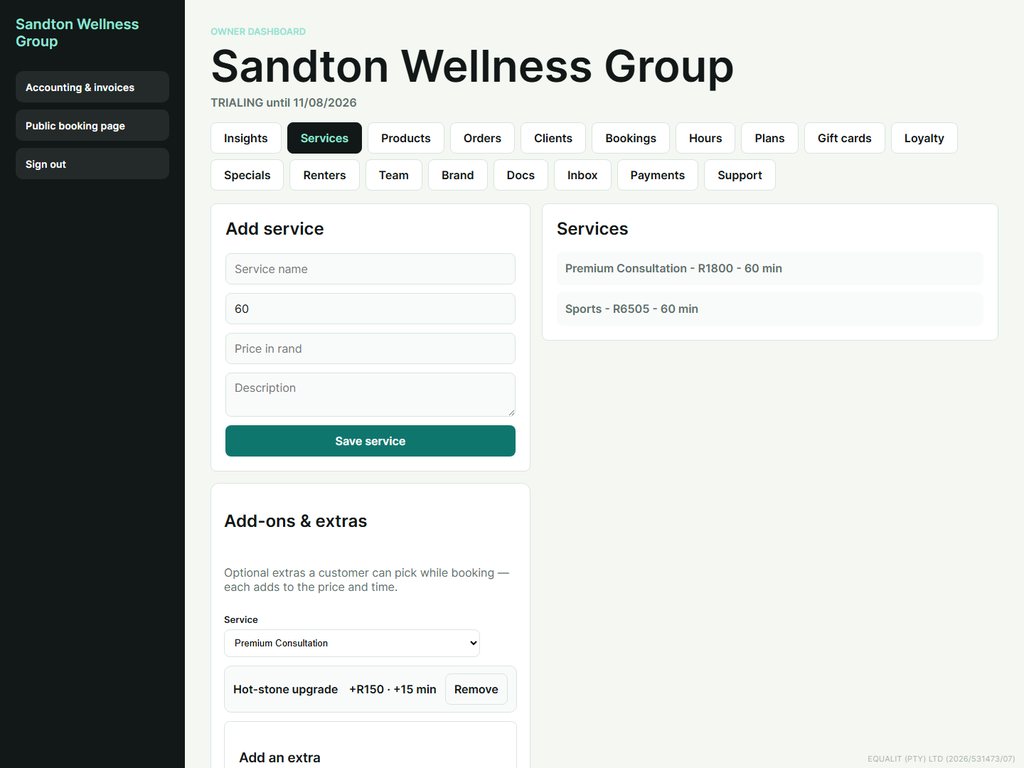
Services define what customers can book, how long they take, and what they cost.
- Open “Services” and add each service with a name, duration and price.
- Use “Extras” on any service to offer optional add-ons (e.g. a hot-stone upgrade) that add price and time at booking.
- Add photos to a service so it stands out on your booking page.
- Hide a service any time — its history is kept.
Products & stock Both
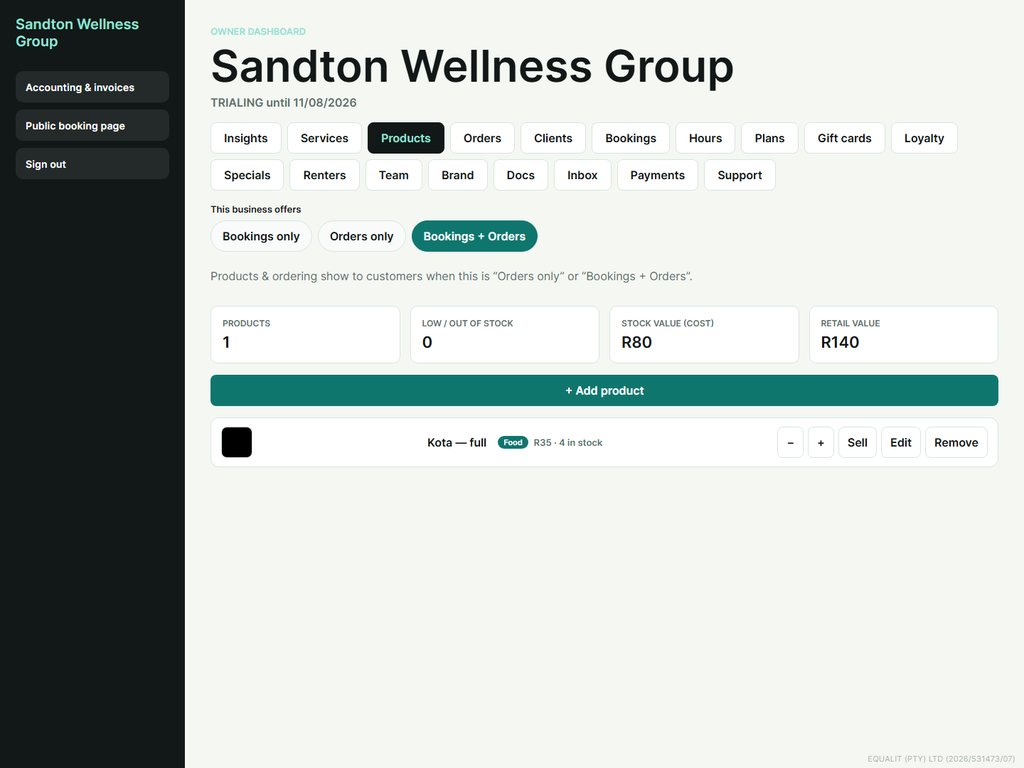
Sell products and track inventory — ideal for spazas, salons retailing product, and takeaways.
- Open “Products” and add each product with a price, cost and opening stock.
- Set a low-stock threshold so you get a heads-up before you run out.
- Use +/- to adjust stock; every movement is logged (purchase, sale, adjustment, wastage).
- The KPI cards show stock value, retail value and how many items are low.
Orders (order command centre) Both
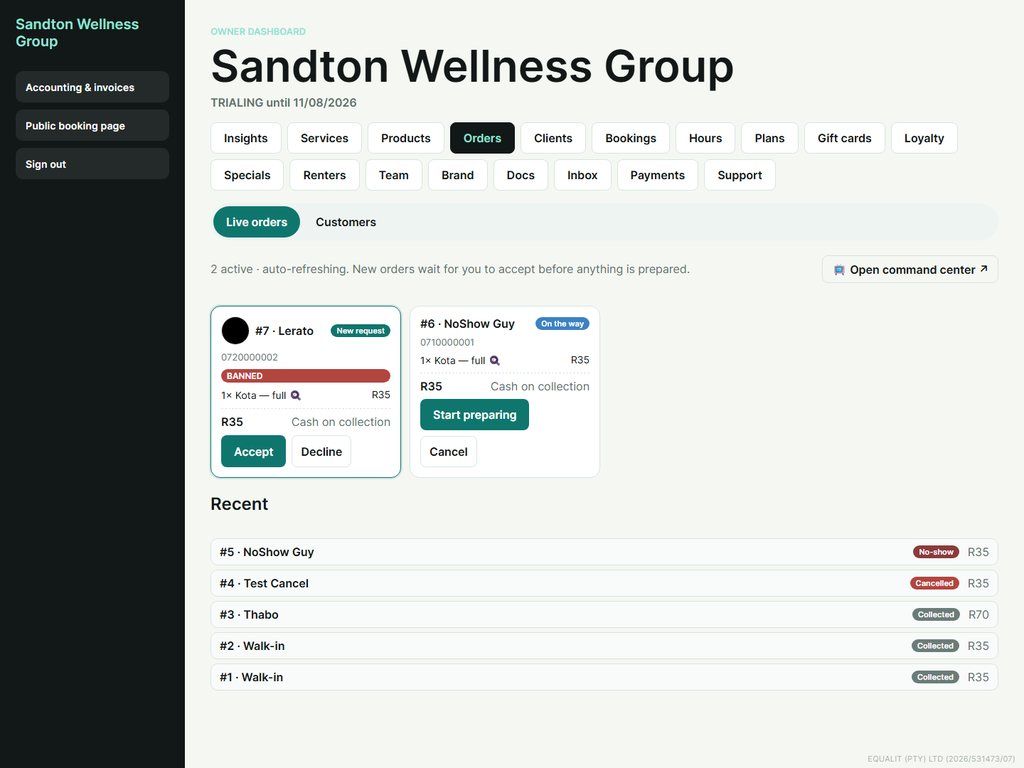
A live board of incoming orders you can run on a screen at the counter.
- New orders arrive as “New request” — tap Accept to confirm or Decline.
- Move an order along: Confirmed → Preparing → Ready → Completed. Completing a cash order marks it paid.
- Cancelling an order restores its stock automatically.
- The board auto-refreshes and can ring a sound when a new order lands.
Clients (your CRM) Both
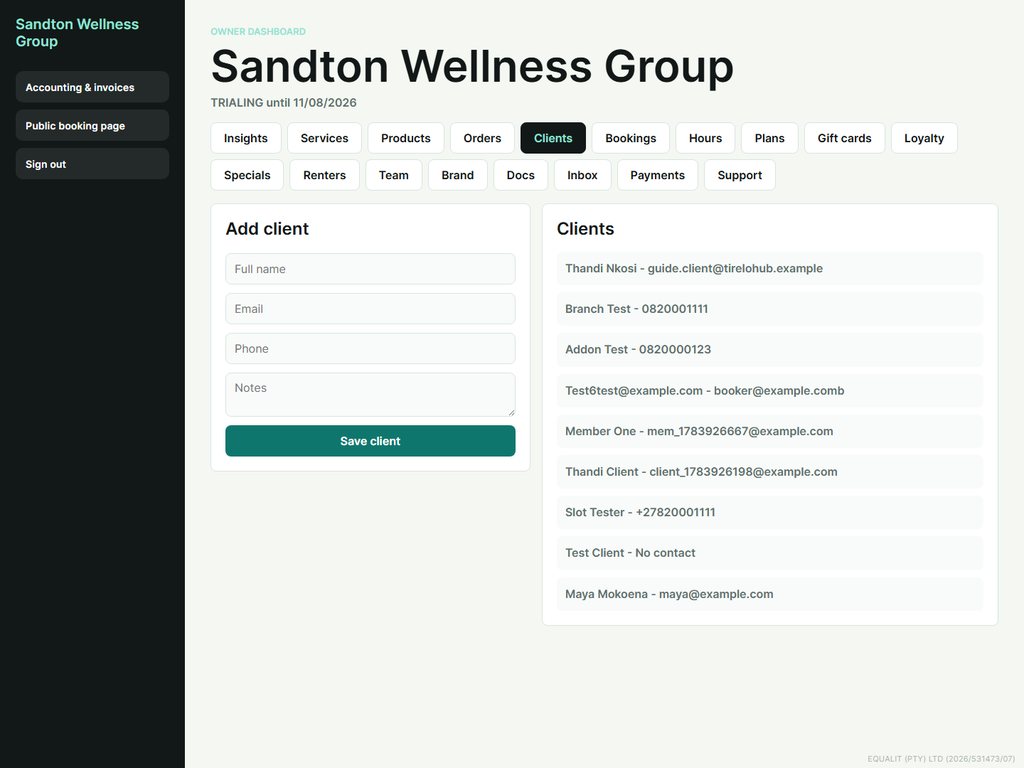
Every client, their contact details and their history in one place.
- Open “Clients” to add a client (name, email, phone, notes).
- Clients created from bookings and orders appear here automatically.
- Open a client to see their visits, spend and no-shows.
Bookings & waitlist Both
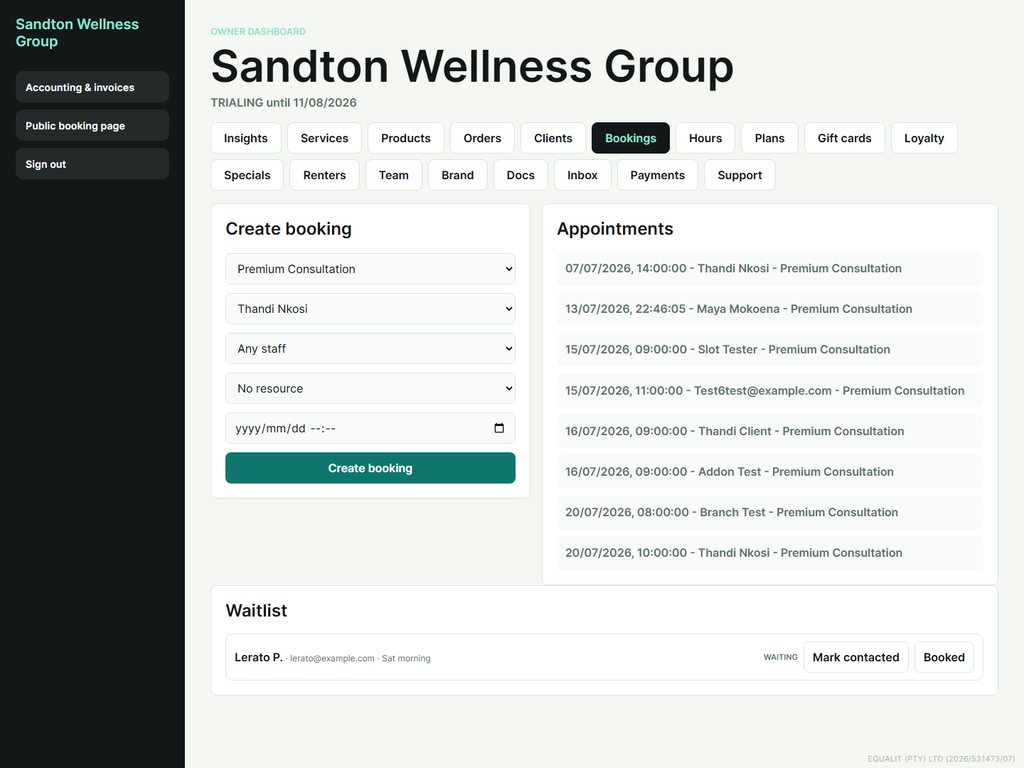
Create bookings yourself and manage a waitlist for busy days.
- Open “Bookings” to create a booking for a walk-in or phone customer — pick the service, client, staff and time.
- Your public booking page lets customers book themselves, only inside your opening hours.
- Customers who can’t find a slot can join your waitlist — you’ll see them here and can mark them contacted.
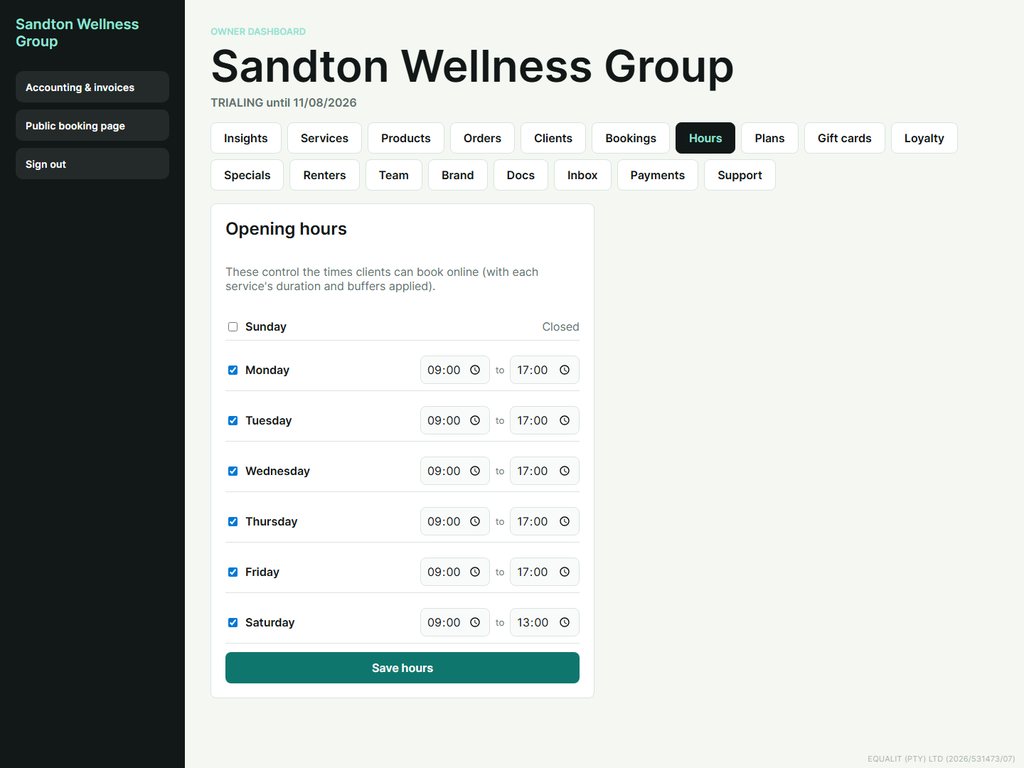
Opening hours & booking frequency Both
Opening hours and booking frequency together control exactly when customers can book online.
- Open “Hours” and tick the days you’re open, then set open/close times for each.
- Online booking only offers slots inside these hours, with each service’s duration and buffers applied.
- Already-booked times show greyed-out so customers can see what’s taken — they can never double-book.
- Booking frequency: under “Hours → Booking frequency”, choose how often you open — Every week (default), Every 2 weeks (bi-weekly), or Every 4 weeks.
- If you pick bi-weekly or every-4-weeks, set the “First open week” — that week, and every 2nd (or 4th) week after, will accept bookings.
- Off-weeks are automatically greyed out on your calendar, so customers can only book on your open weeks. Handy when each job needs a couple of weeks, or to avoid overbooking yourself.
Membership plans Both
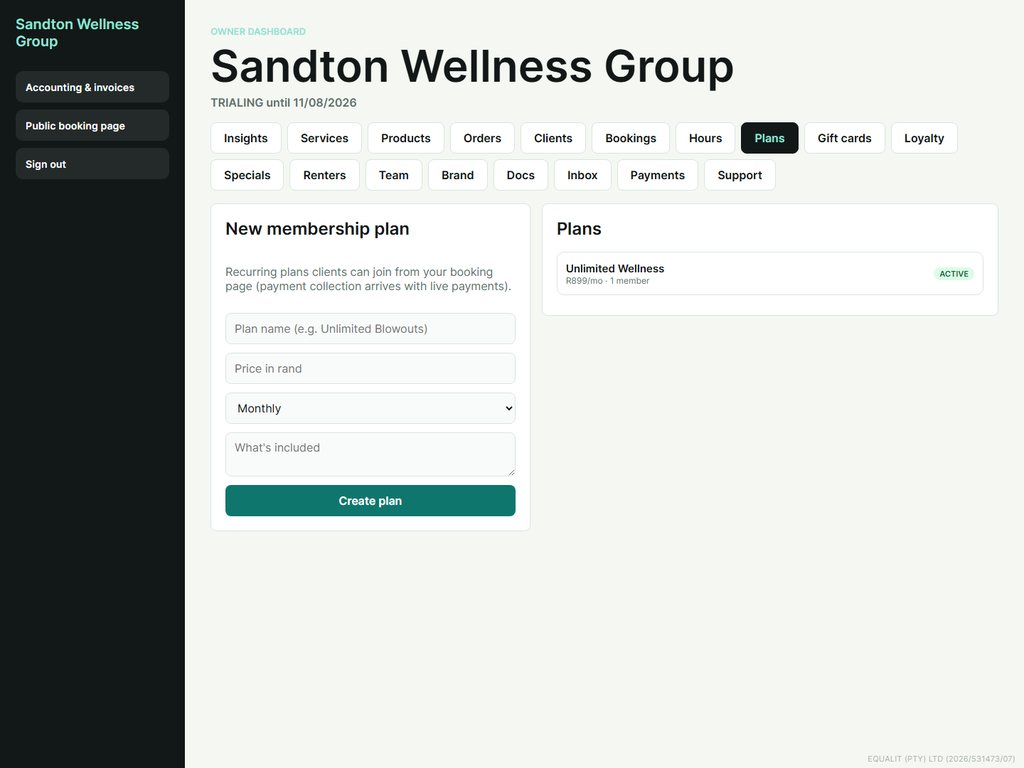
Offer recurring plans your customers can join from the booking page.
- Open “Plans” and create a plan with a name, price and billing interval.
- Customers see and join plans on your public booking page.
- Manage who’s subscribed from here.
Gift cards Both
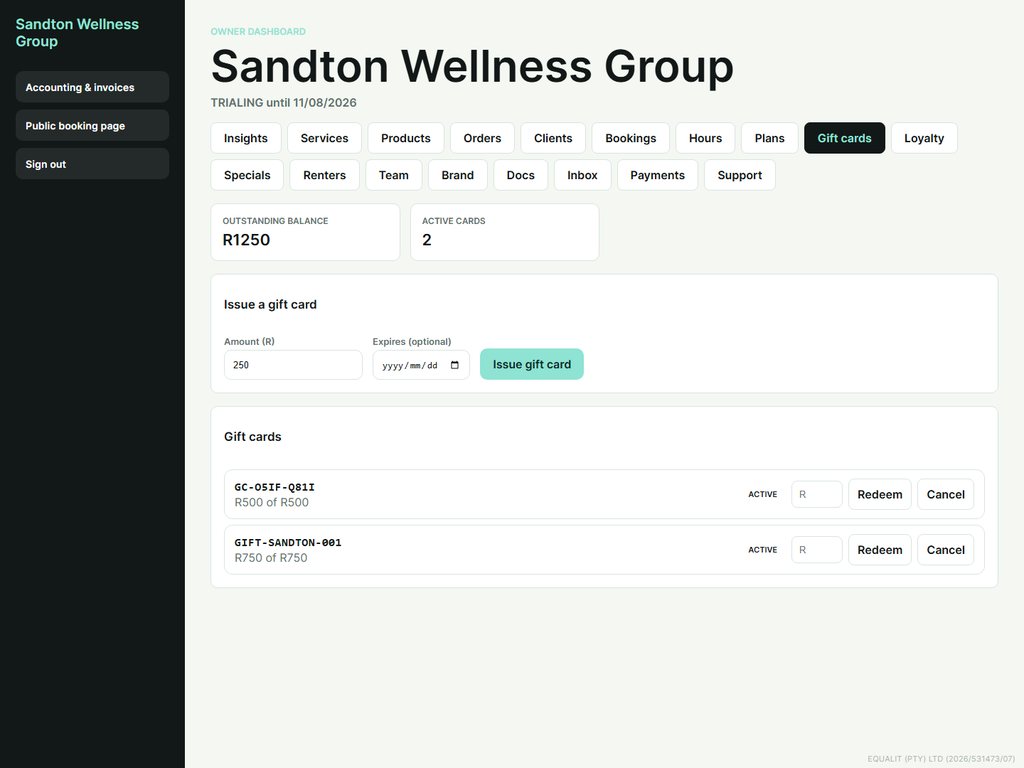
Issue and redeem gift cards.
- Open “Gift cards” and issue a card with an amount, a unique code and an optional expiry.
- Redeem a card at checkout, or cancel one if needed.
- Every card’s status and balance is tracked.
Loyalty Both
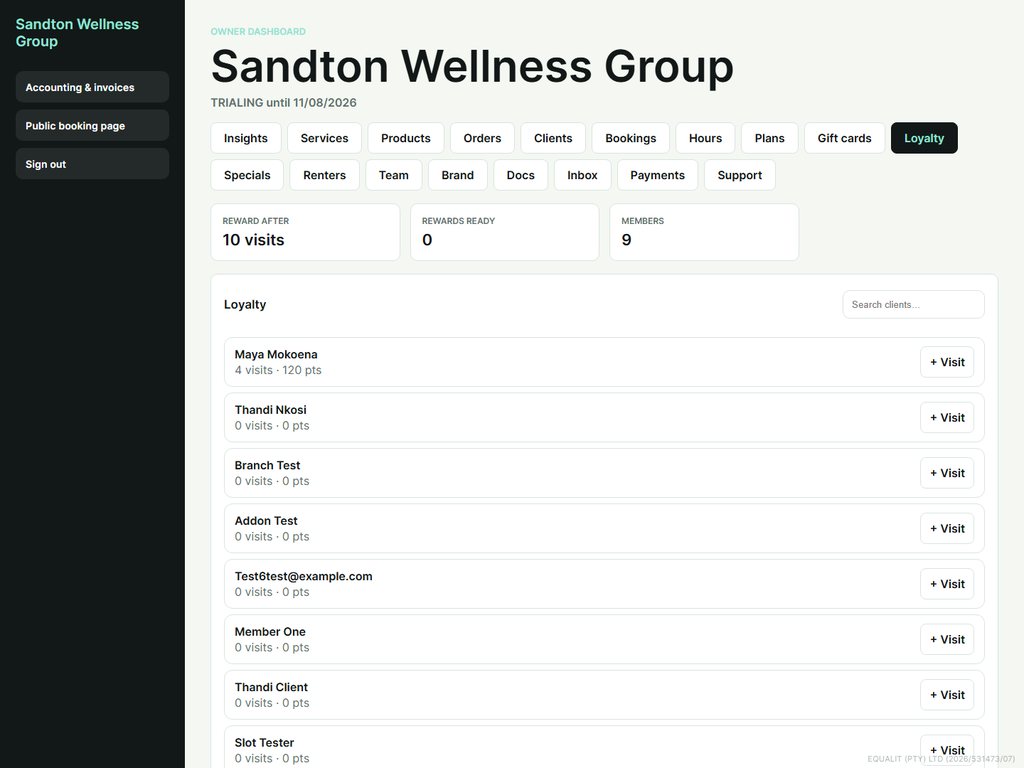
Reward repeat customers automatically.
- Open “Loyalty” to see each customer’s visits and points.
- A reward unlocks after a set number of visits.
- Great for turning first-timers into regulars.
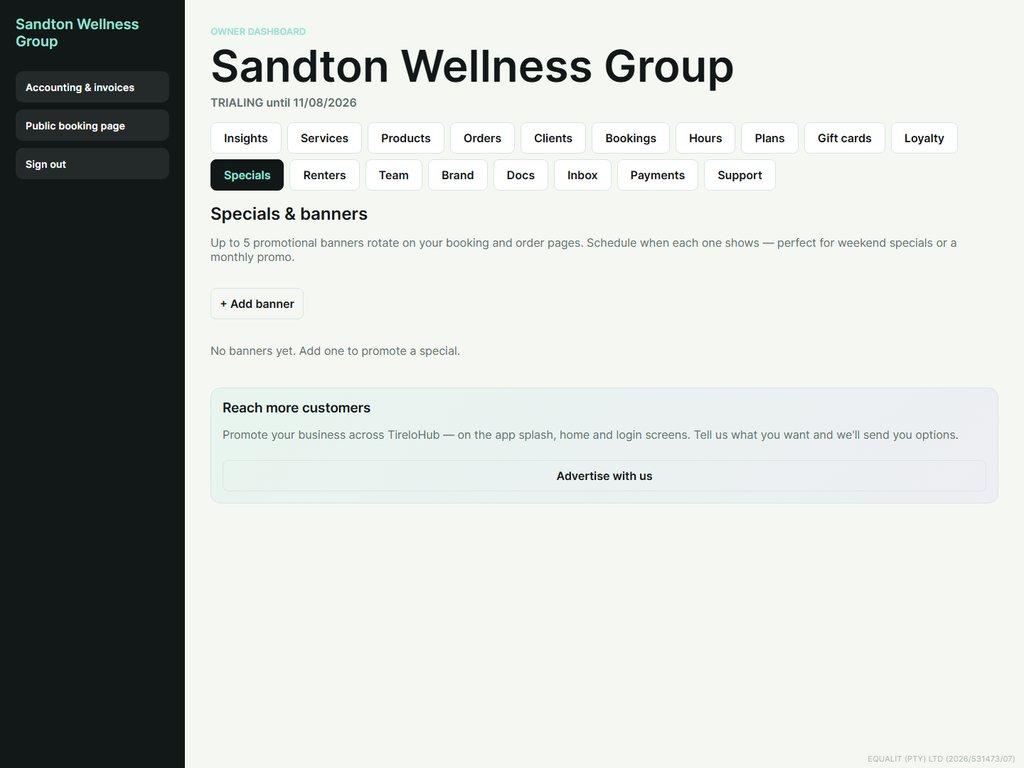
Specials & banners Both
Promote deals with banners on your booking page.
- Open “Specials” and add a banner with a headline and message.
- Banners rotate on your public booking page.
- Turn a banner off any time.
Seats & renters Both
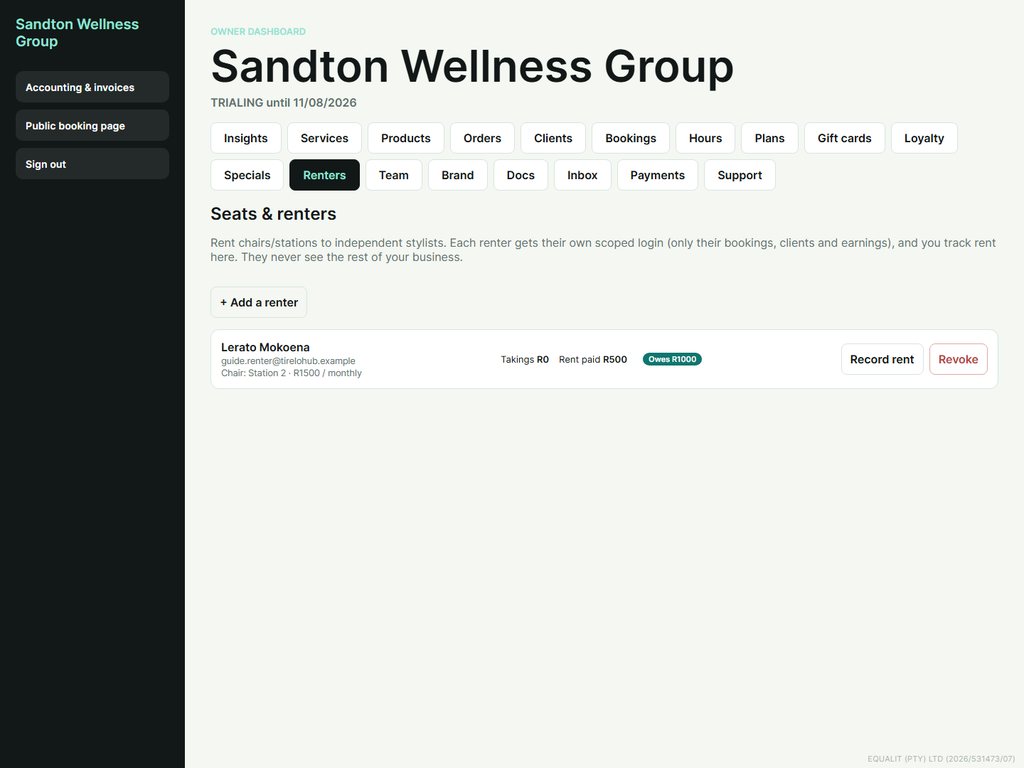
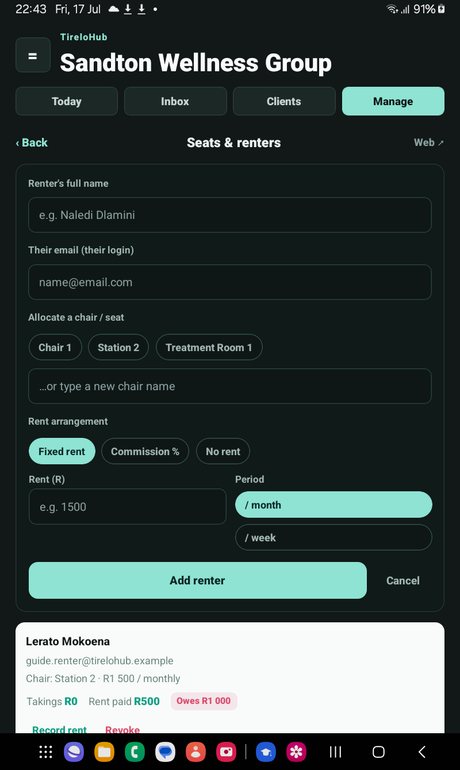
Rent a chair or station to an independent stylist. Each renter gets their own scoped login — they only ever see their own bookings, clients and earnings.
- Open “Seats & renters” and tap “Add a renter”. Enter their name and email, allocate a chair (or create a new one), and set the rent (fixed per week/month, a commission %, or none).
- They receive a temporary password to sign in — share it securely. They land on their own seat dashboard.
- Track each renter’s takings, rent paid and what they still owe. Tap “Record rent” when they pay you.
- Revoke access any time — their history stays.
Team chat Both
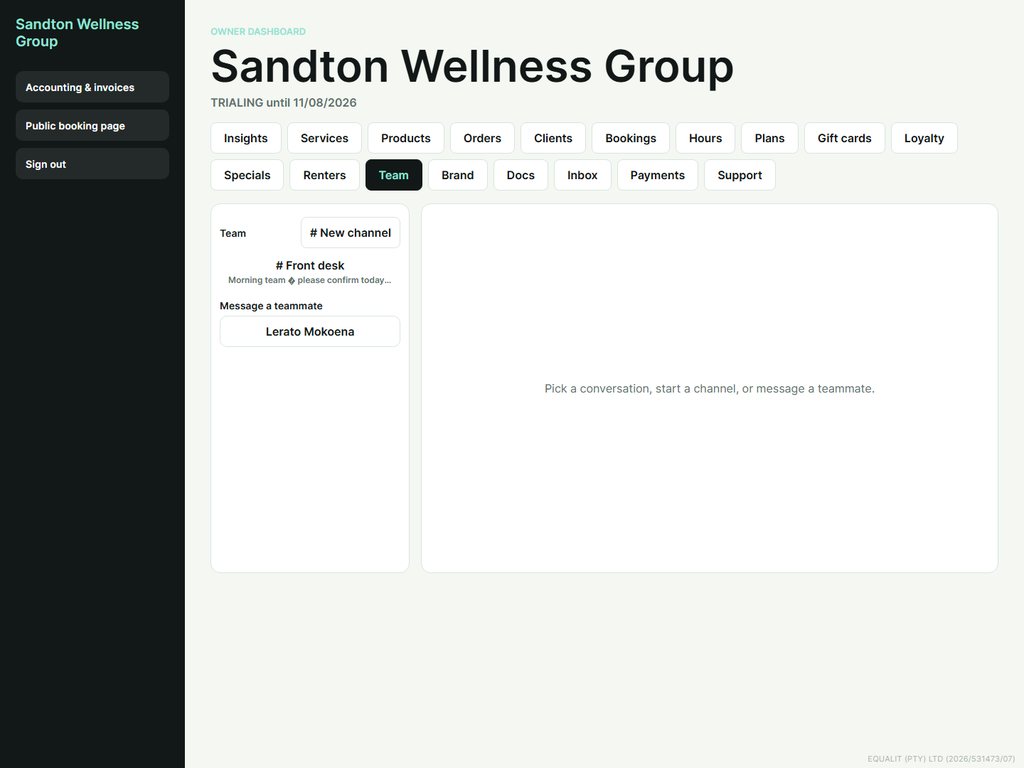
A built-in messaging hub for your staff — no third-party app needed.
- Open “Team” to message the whole team in a channel, or start a private direct message.
- @mention a teammate to get their attention.
- Messages are unlimited and included — there are no per-message fees.
Brand your booking page Both
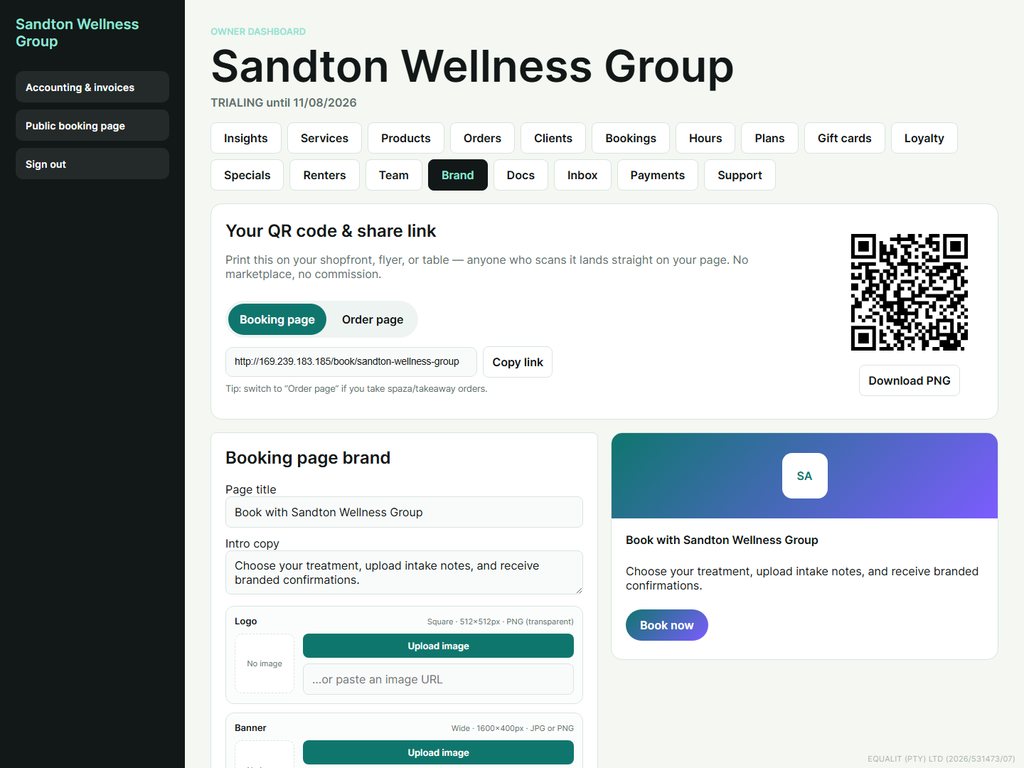
Make your booking page look like you.
- Open “Brand” and upload your logo (512×512), a banner (1600×400) and an optional background image (shown at low opacity).
- Change your business type here any time — the “Business type” field (with quick suggestion chips) controls how you appear in the directory’s type filter. On the app it’s under Manage → “Branding & booking page”.
- Set your primary and accent colours, your page title and intro, and your social links.
- Use the live preview, then save. Your QR code links straight to this page.
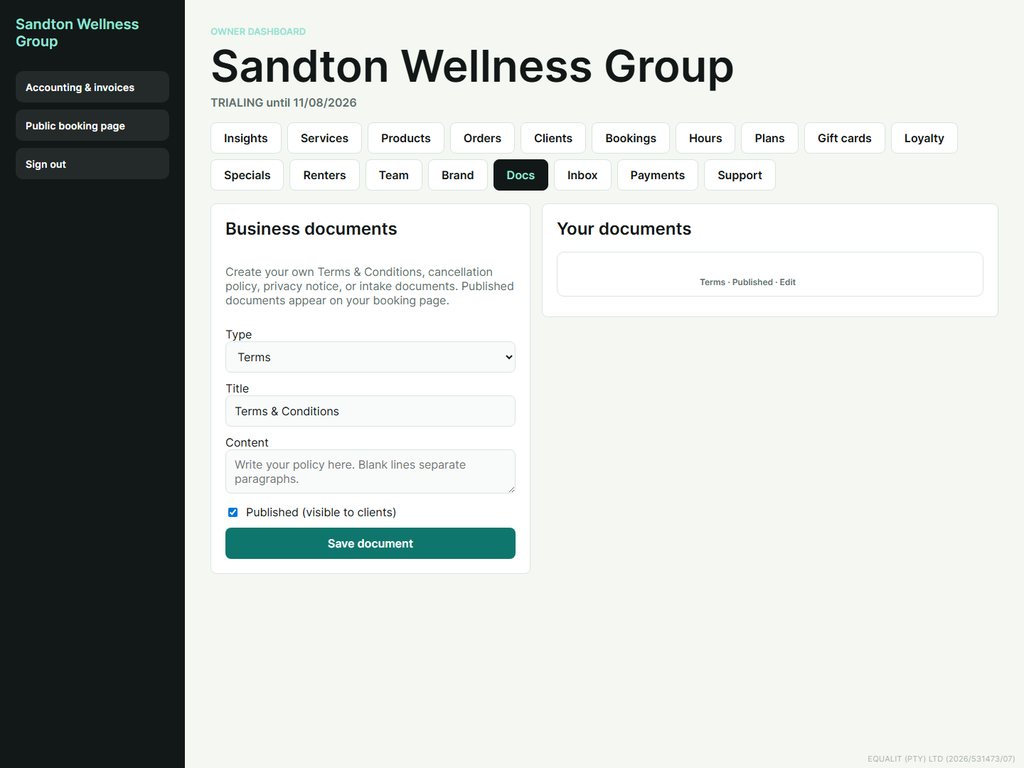
Documents & policies Both
Publish your own terms, cancellation policy and intake documents.
- Open “Docs” and write or upload a document.
- Published documents appear to your customers.
- Keep your cancellation and privacy terms clear and up to date.
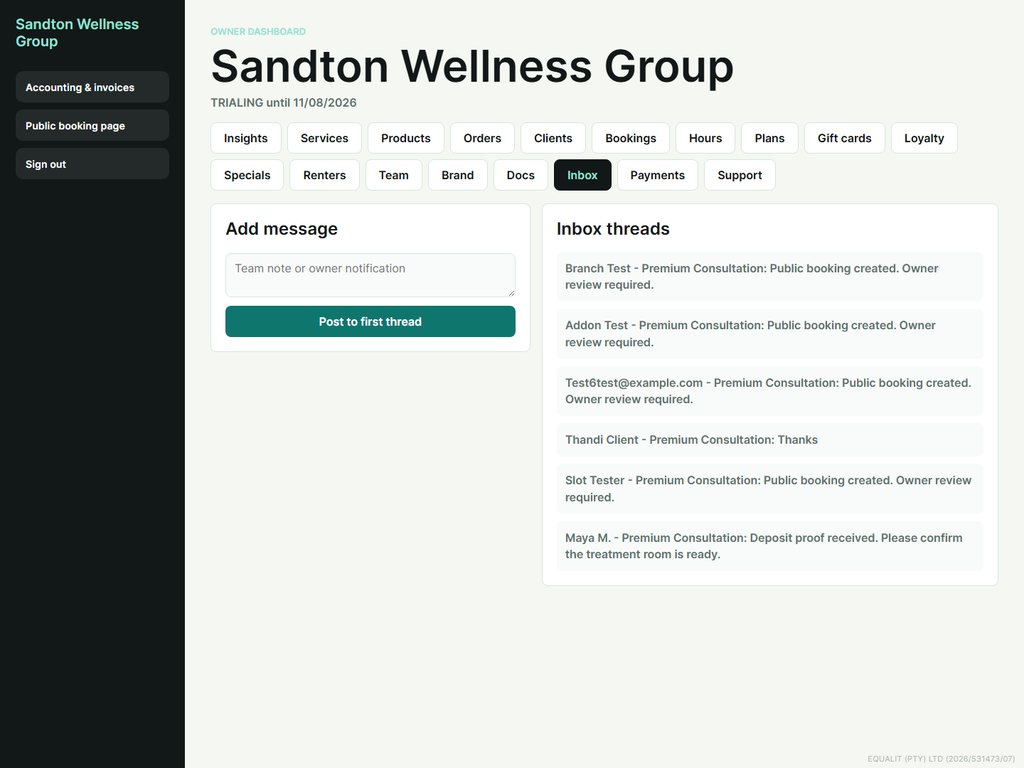
Inbox Both
Booking conversations and owner notifications in one thread list.
- Open “Inbox” to read booking threads and post a note or reply.
- New public bookings open a thread automatically for owner review.
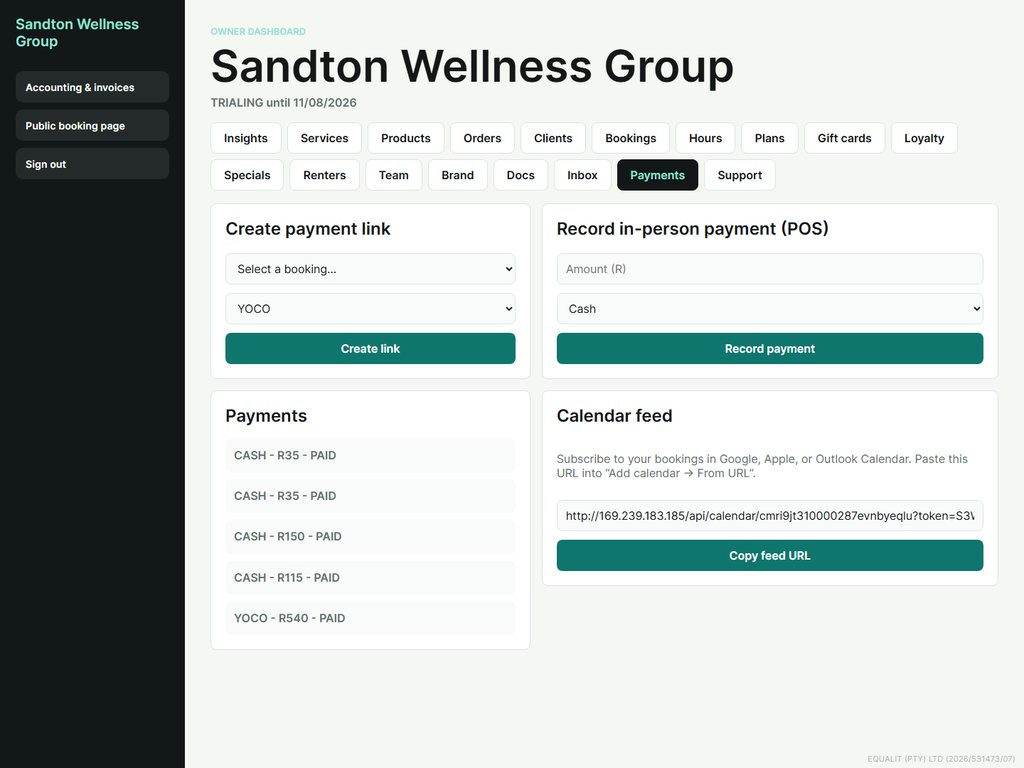
Payments & deposits (POS) Both
Collect deposits online and record in-person payments.
- Open “Payments” to create a payment link for a booking (Yoco, PayFast, Ozow).
- Record an in-person payment (cash, card machine, EFT) — it counts toward your revenue instantly.
- Subscribe to your calendar feed to see bookings in Google, Apple or Outlook calendars.
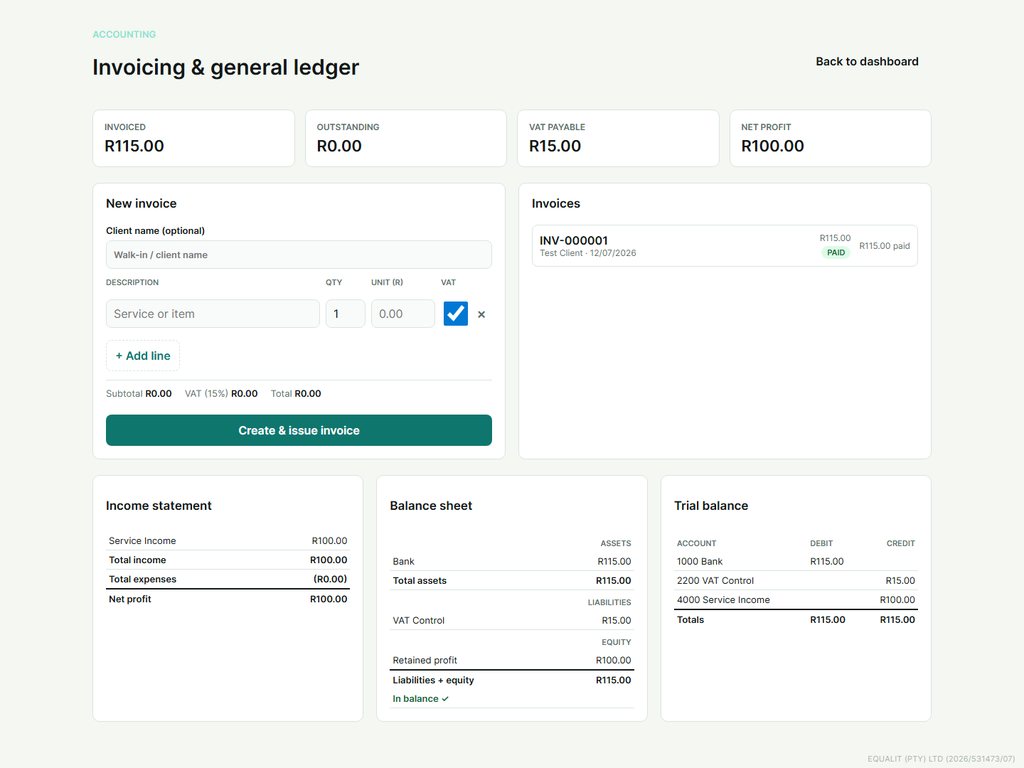
Accounting & invoices Web
Invoice like a pro with a proper double-entry ledger behind the scenes.
- Open “Accounting & invoices” from the sidebar.
- Create a VAT invoice — totals and 15% VAT are calculated live.
- Record payments and view your income statement, balance sheet, trial balance and VAT report.
- Everything posts to a balanced ledger automatically.
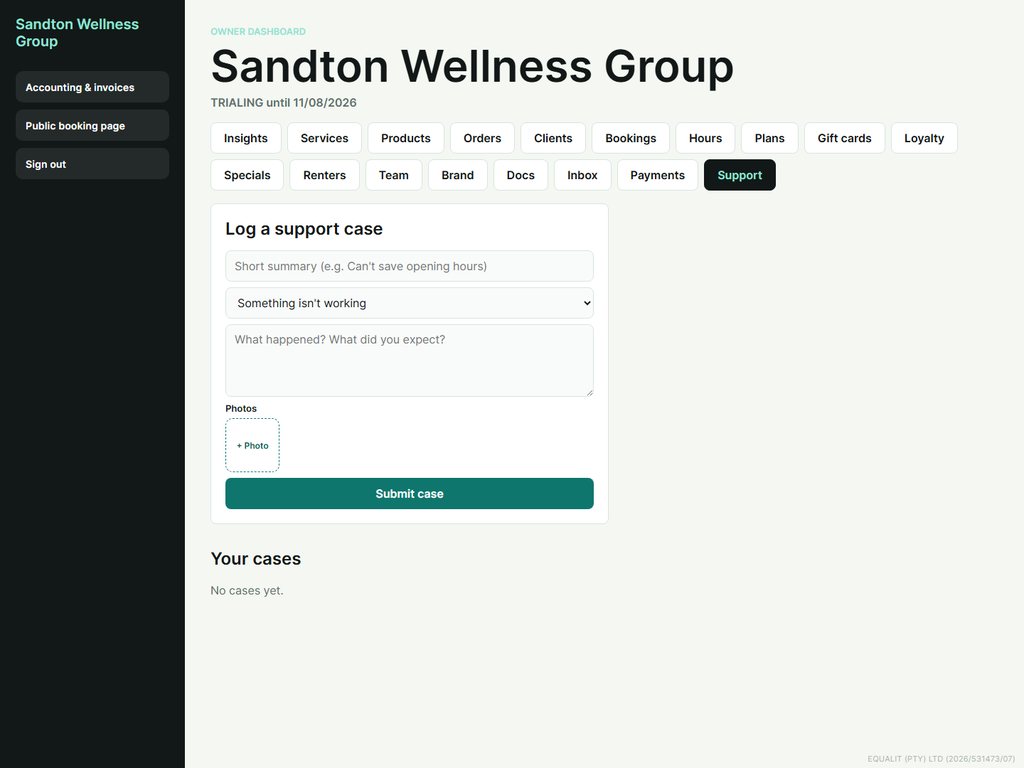
Help & support Both
Report a problem or ask a question and we’ll reply right in the app.
- Open “Support” and log a case — choose the kind, add a summary and description, and attach a screenshot.
- We reply in the same thread; you’ll see updates here.
For your customers
How the people who book and order from you use TireloHub.
Find & book a business Both
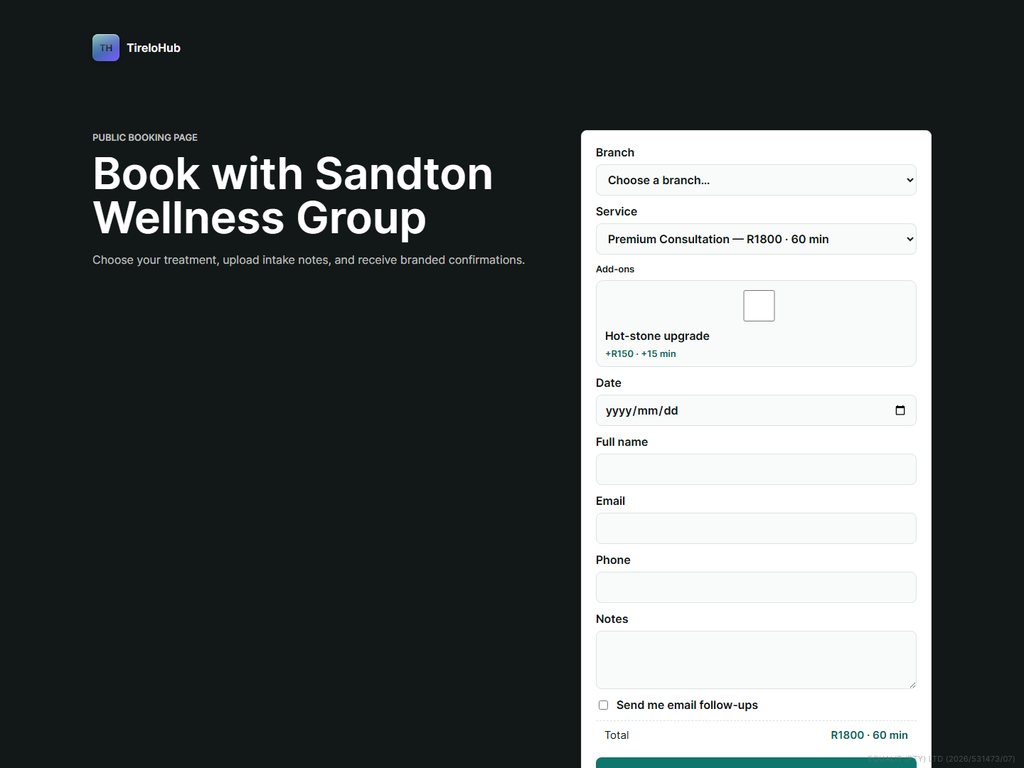
Browse South African businesses and book in seconds.
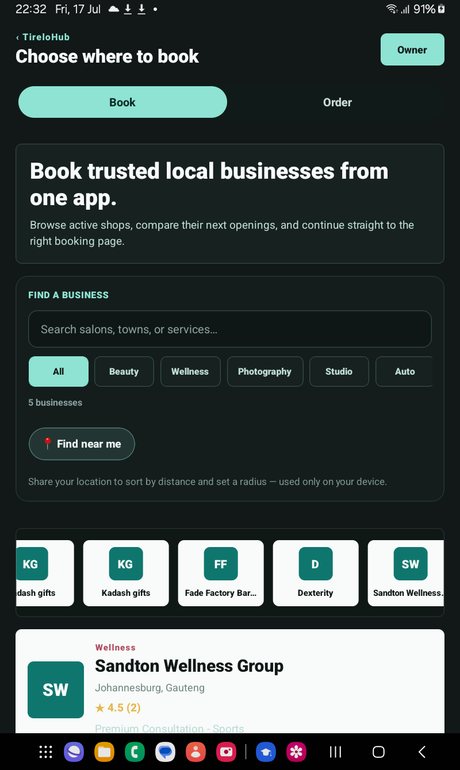
- Open the directory to browse, or search by name, town, service or business type. Tap a business-type chip (e.g. Salon, Car wash, Vehicle hire) to filter to just that kind of business. Use “Find near me” to sort by distance.
- Pick a business and tap “Book”. Choose a branch (if any), a service, and any extras.
- Pick a day, then a time. Times already taken show greyed-out so you can see what’s free.
- Enter your details and confirm. Sign in first to keep all your bookings in one account. Use “← All businesses” to go back to browsing.

Order ahead & collect Both
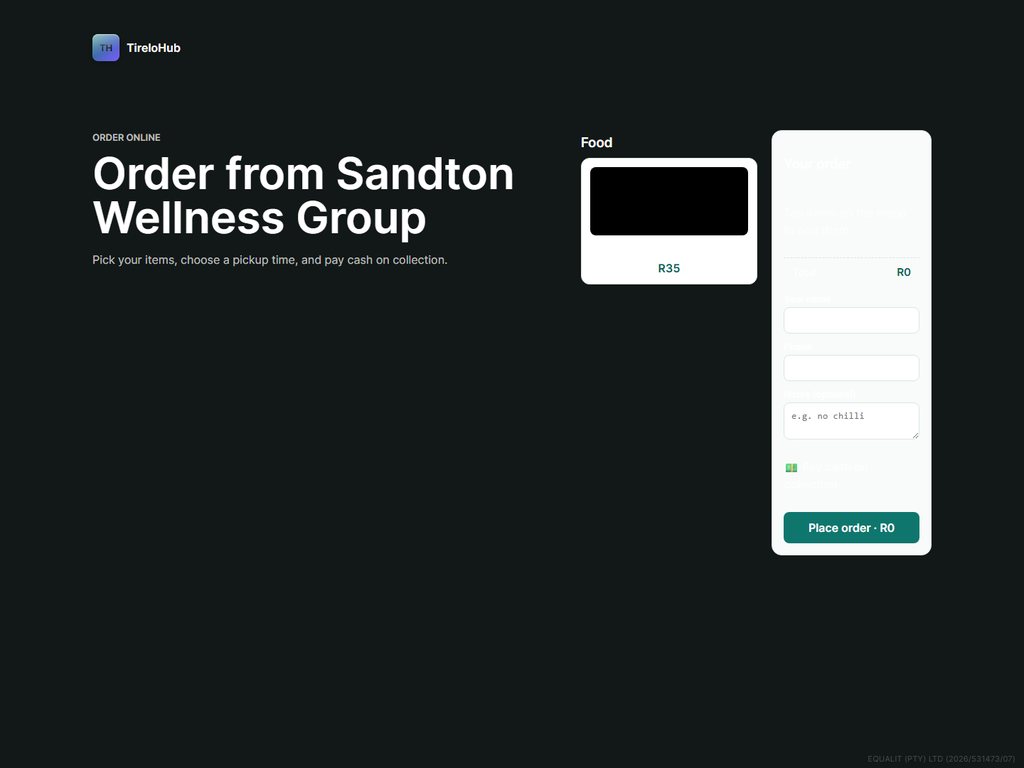
Order from takeaways, spazas and local shops, then collect.
- In the directory, switch to the “Order” tab and choose a shop.
- Add items to your cart, add a note (e.g. “no chilli”), and enter your name and phone.
- Place the order and pay cash on collection. You’ll get an order number to quote.
Manage your bookings Both
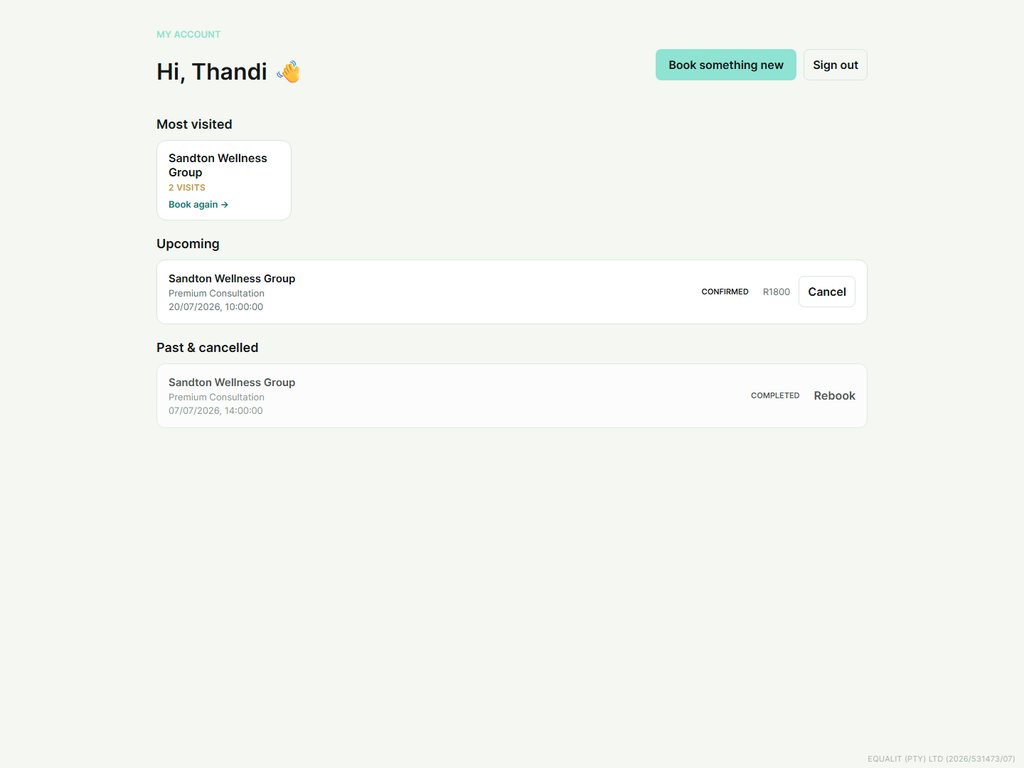
See, cancel and rebook from one account.
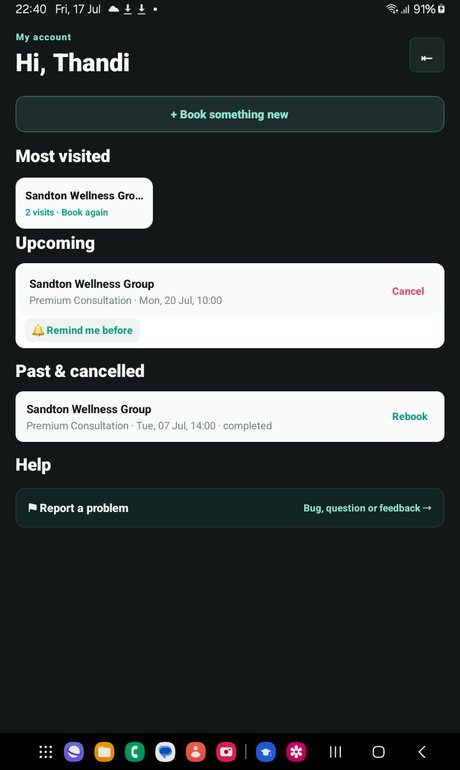
- After signing in you land on “My account”.
- Upcoming bookings show at the top — cancel any with one tap, or set a reminder before it.
- Past visits can be rebooked in a click, and “Most visited” gets you back to your favourites fast.
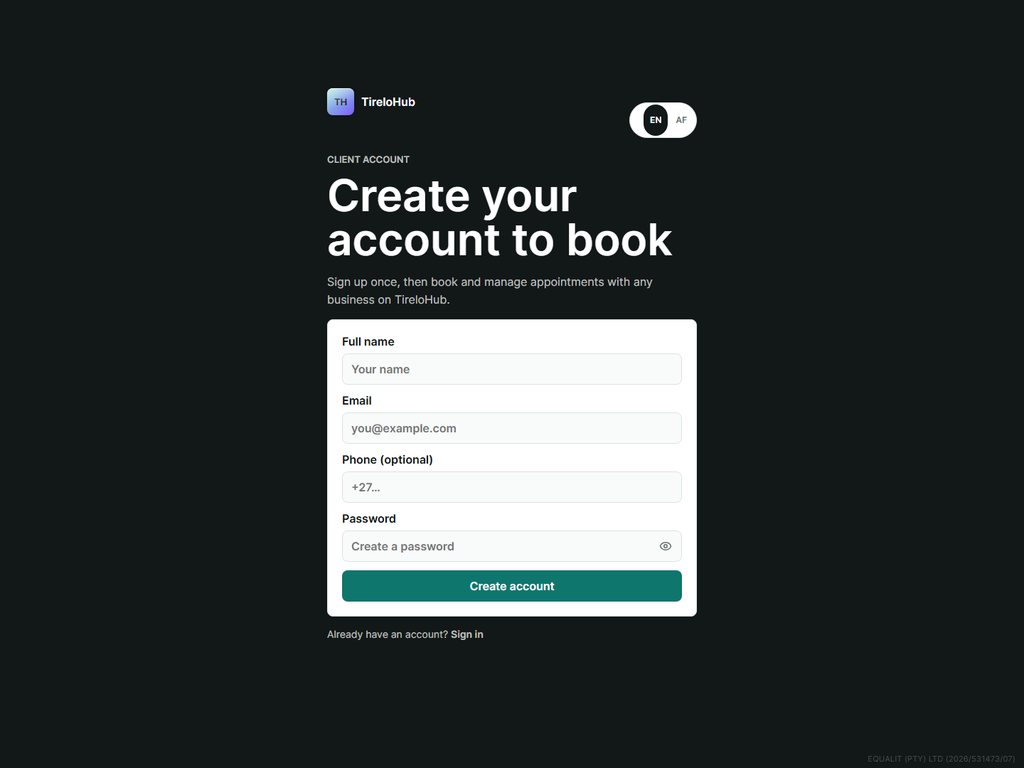
Create an account Both
A free account keeps all your bookings and orders together.
- Tap “Create account”, enter your name, email and a password.
- If verification is on, enter the PIN we email you.
- That’s it — you can now book, order and manage everything in one place.
For seat renters
If you rent a chair or station at a salon that uses TireloHub, this is your view.
Your seat dashboard Both
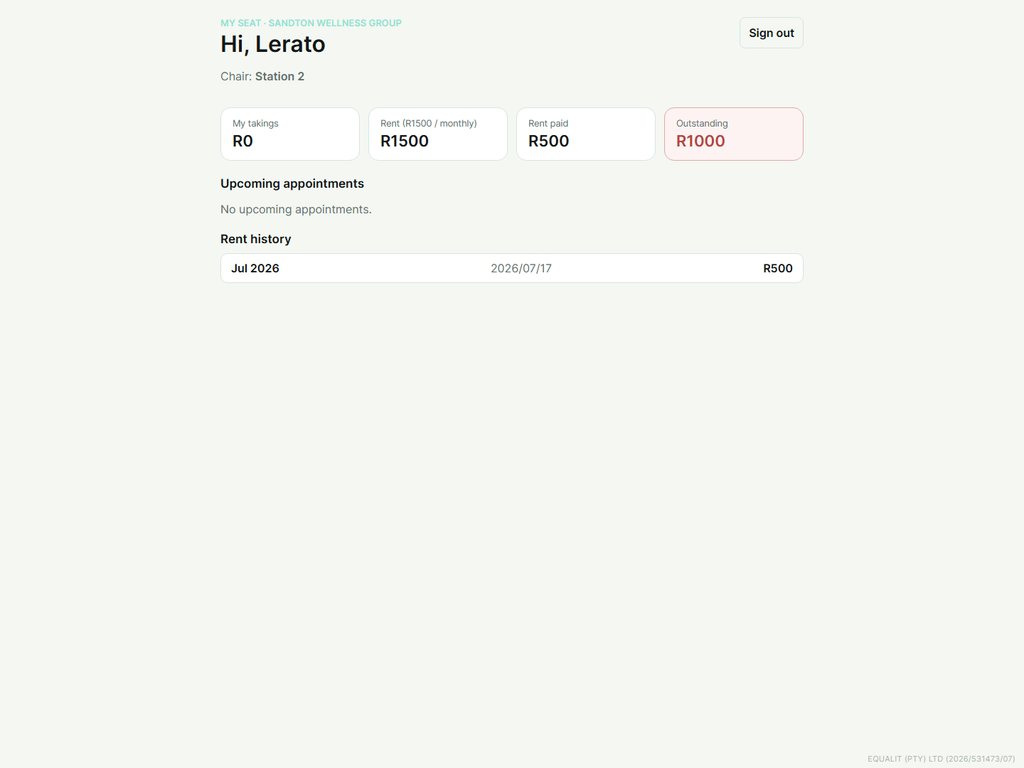
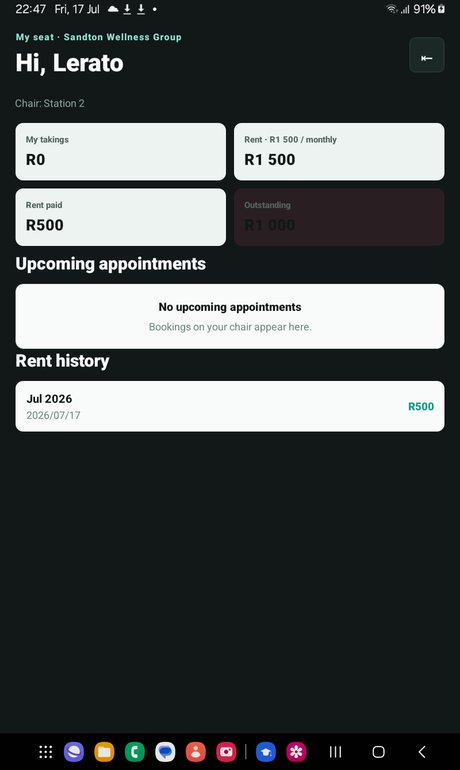
A private dashboard scoped just to you — you never see the rest of the business.
- Sign in with the email and temporary password your salon owner gave you (use “Business owner — log in” on the app).
- Your dashboard shows your takings, your rent (fixed or commission), what you’ve paid and what’s outstanding.
- See your upcoming appointments and your rent-payment history.
- Only your own bookings, clients and earnings are visible — the owner manages the rent side.
Using the mobile app
The Android app does everything the website does — built for owners and customers who work mostly from their phone.
Get the app Mobile
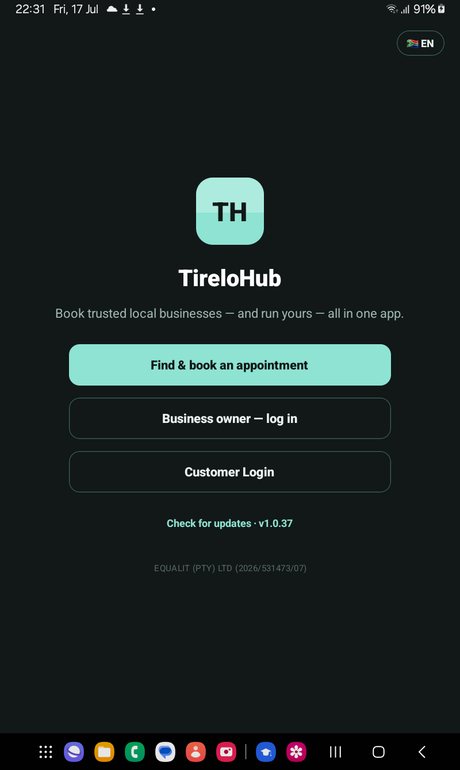
Download, install and open the app.
- Open the “Download the app” link and install it (allow installs from this source the first time).
- On the welcome screen choose “Find & book an appointment”, “Business owner — log in”, or “Customer Login”.
- Tap “Check for updates” any time to get the latest version and see what’s new.
- Switch language between English and Afrikaans from the flag in the corner.
Book on your phone Mobile
The full booking flow, natively in the app.
- Tap “Find & book an appointment” and pick a business.
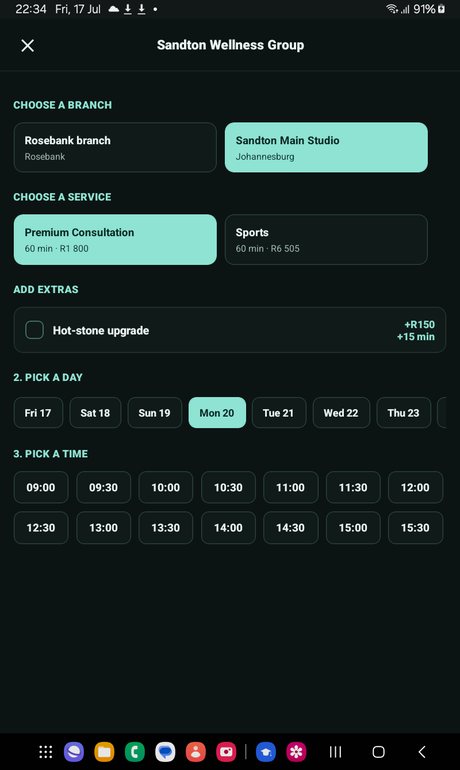
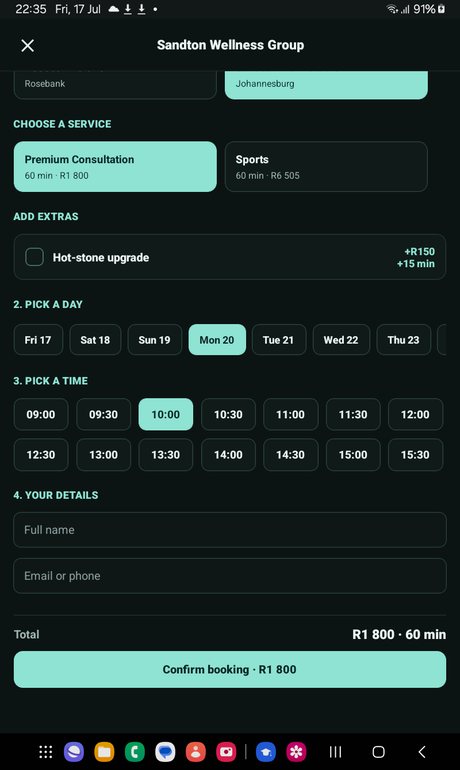
- Choose a branch and service, add any extras, then pick a day and time. Taken times show greyed-out.
- Enter your details and confirm. Set a reminder so you don’t forget.
Order ahead on your phone Mobile
Order from local shops and collect.
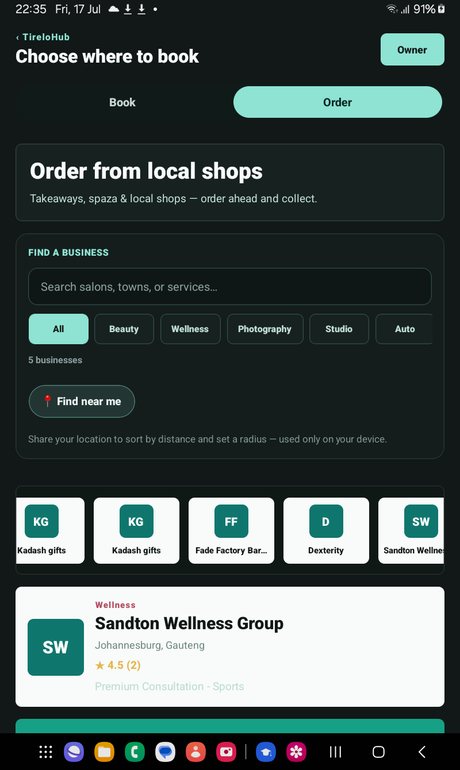
- Switch to the “Order” tab and choose a shop.
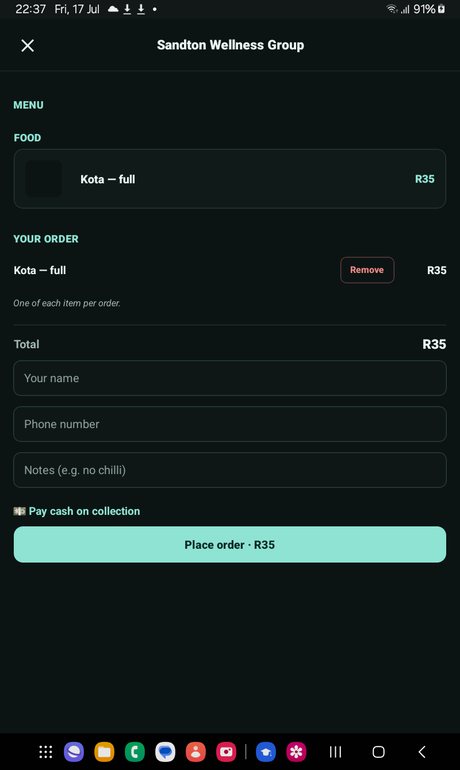
- Tap items to add them to your cart and adjust quantities.
- Add your name, phone and a note, then place the order and pay on collection.
Your bookings on your phone Mobile
Manage everything from “My account”.
- Sign in with “Customer Login”.
- See upcoming bookings, cancel or set a reminder, and rebook past visits.
- “Most visited” takes you back to your favourite businesses.
Run your business from the app Mobile
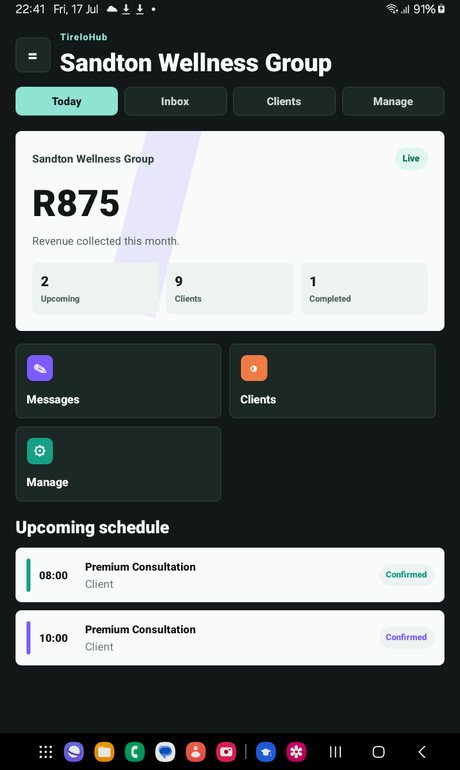
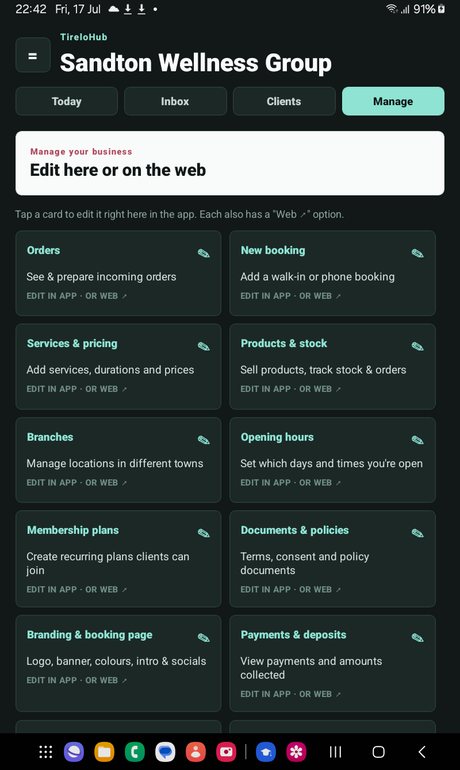
Owners get the full dashboard on mobile — Today, Inbox, Clients and Manage.
- Log in with “Business owner — log in”. “Today” shows your revenue, upcoming schedule and quick actions.
- Open “Manage” to edit everything natively — services, products, orders, hours, plans, branding, payments, specials, renters and more.
- Each card also has a “Web ↗” option if you’d rather use a big screen.
Manage seat renters from the app Mobile
Add renters and track rent from your phone — full parity with the web.
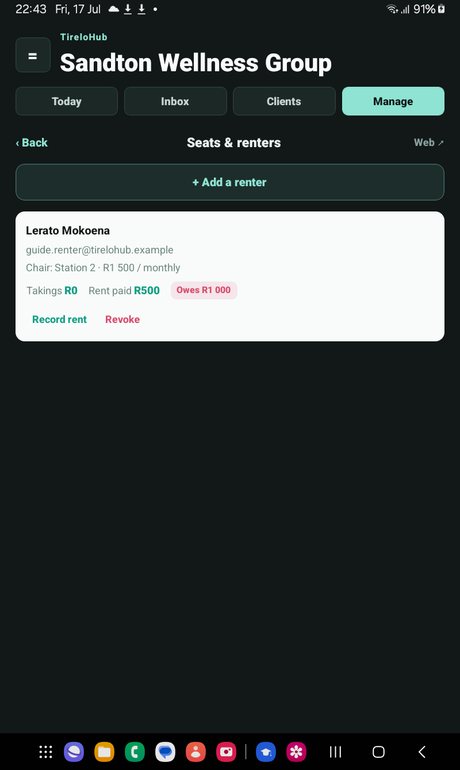
- Go to Manage → “Seats & renters”.
- Tap “Add a renter”, set their seat and rent terms, and share the temporary password it generates.
- See each renter’s takings, rent paid and outstanding; tap “Record rent” when they pay, or “Revoke” to remove access.
The renter’s app view Mobile
Renters get their own scoped dashboard in the app.
- Sign in with “Business owner — log in” using the details your salon owner gave you.
- You land on your seat dashboard: takings, rent, paid and outstanding.
- See upcoming appointments and your rent history — nothing else from the business is visible.
Prefer video? Watch the video guides · Back to home